3D Scanning: How to Merge Scans?
3D Scanning Basics: Merging Scans
Welcome back to our Reverse Engineering Service Blog! So you must’ve read our posts on the introduction of what 3D scanners are and what they can do, how to choose the best 3D scanner suited for you and tips & tricks about 3D scanning targets.
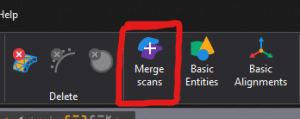
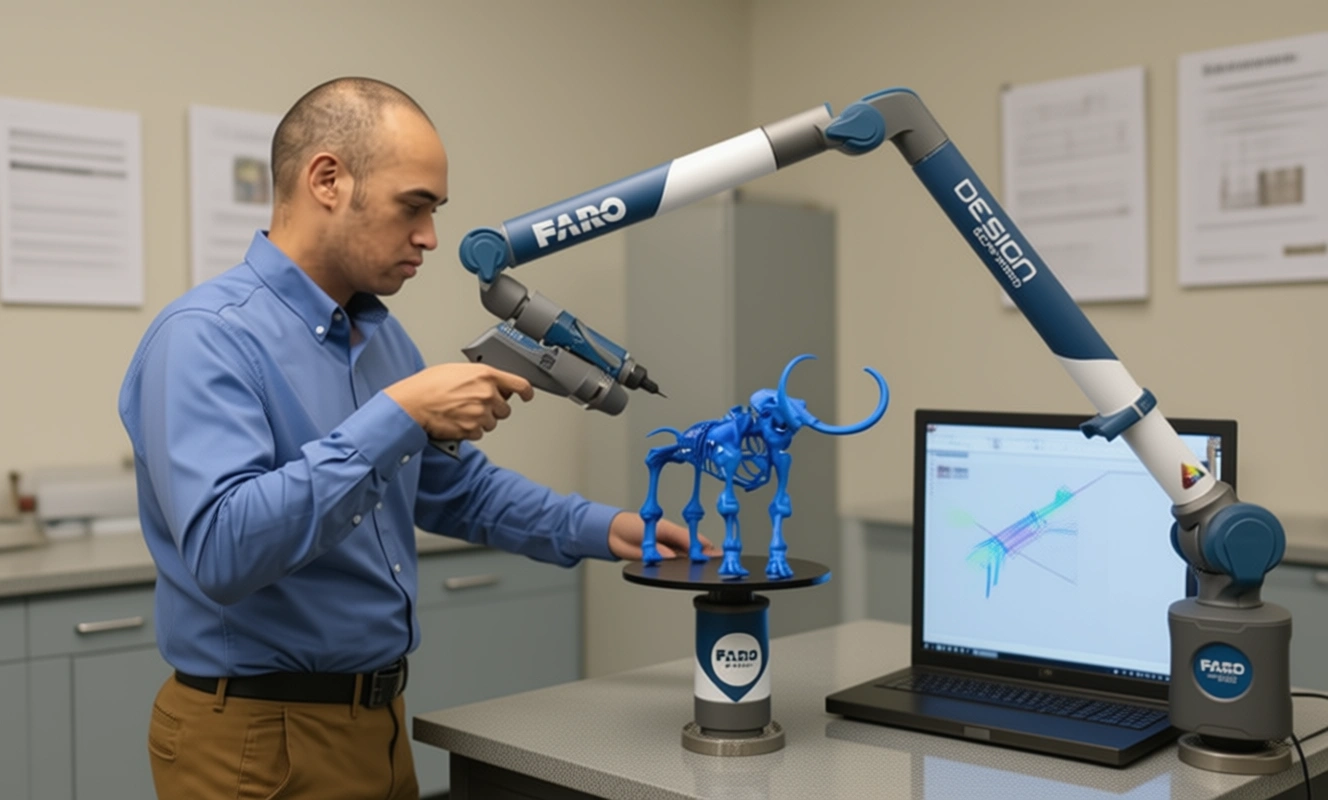
Now in this post, Mako GmbH are going to provide a solution for another big problem to scanning a stationary object without targets on the part. The problem is, you usually can’t scan the entire surface, generally missing the bottom of the part and maybe some undersides in most cases. In this situation, you’ll need to make multiple scans of the same part and merge them together. Luckily VXelements has a solution for this. Using the aptly named ‘Merge Scans’ tool located in the VXscan module of VX elements you can merge the multiple scans together.
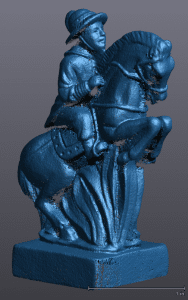
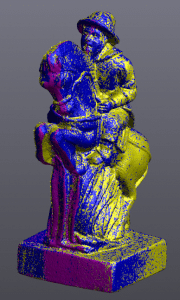
Let’s take a look at a scan of a knight chess piece as an example:
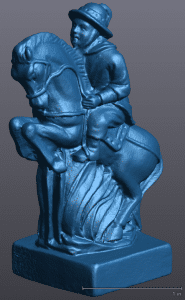
Above is a picture of the completed and cleaned scan of a knight chess piece. It’s full of detail yet only a few inches tall. Getting targets on this part would be difficult and will cover up a lot of the detail you want to capture.
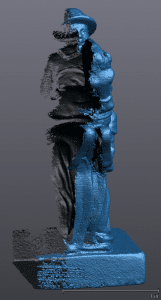
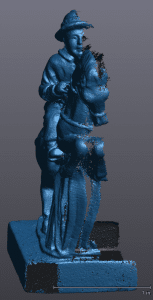
This means you’ll have to use some alternative targeting techniques. This can limit what parts of the item the scanner can see and thus what it can measure/digitize. If you had a nice symmetrical part, you could just scan half, trim it up, and then mirror it. However, this part has complex geometry that is asymmetrical. This means you’ll have to get a little creative with your scans. You need to take the scans with the part in three different positions: upright, laying on the left side, and laying on the right as pictured below.
Luckily for all of us, VXscan can easily merge these scans together. By utilizing the Merge Scans tool you can overlay and combine two or more scans.
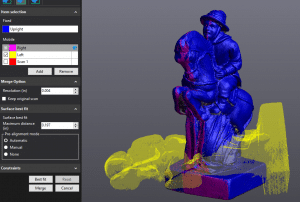
Once you have started the tool the toolbar appears on the left side of your screen. At the top there are the alignment options: targets, surface best fit, and global registration. Surface best fit is what we’ve found to be easiest and what you can use here. In the item selection it shows the fixed mesh (blue) which is the active scan when you select the Merge Scans tool and the mobile mesh which can be selected from one of the other meshes, in this case the right side (pink) of the knight. You have options to keep the original (fixed) scan or have the merge overwrite this scan and the ending resolution as well as how to perform the pre-alignment. In most cases automatic will work just fine.
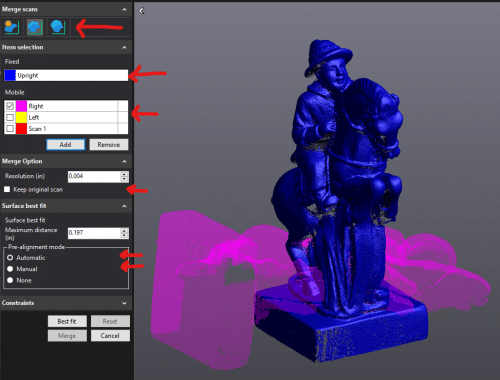
Once you hit best fit at the bottom it will give you a preview of your merge. When you hit merge it will actually merge the two together to create a new mesh. You now have a merged scan with the best of your three initial scans.
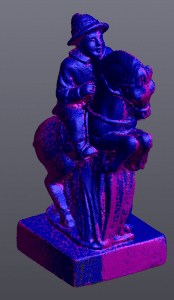

Just remember, you’ll still need to finalize and clean the mesh in VXmodel.
I hope you found this guide helpful. For more information, look at our other posts on our Blogspot about Reverse Engineering, Scanning, 3D Scanners, or SOLIDWORKS, CATIA etc. CAD software.
There are no comments